
Get ready to build your own online school in just five minutes. It just takes three simple steps. With Learnyst Online Training Platform’s very easy drag and drop site builder interface and 90% ready website you can go live as soon as you signup. You can have a virtual classroom of your own brand school in minutes. So, let’s get started.
Build Your Branded Online School with Learnyst's Training Platform
First of all think of a school name and the URL you would desire for your school to teach online and let’s go to Learnyst Online Training Platform and sign up with your email id, school name, desired URL and mobile number.
Now, you can login into Learnyst with your registered email id and password.
Note: An auto-generated verification email will be sent to your email id. Make sure you verify it. Though it is not required for your first login it is required for the second time. Once you login you are in admin dashboard and you will see three simple steps as shown in the image below.
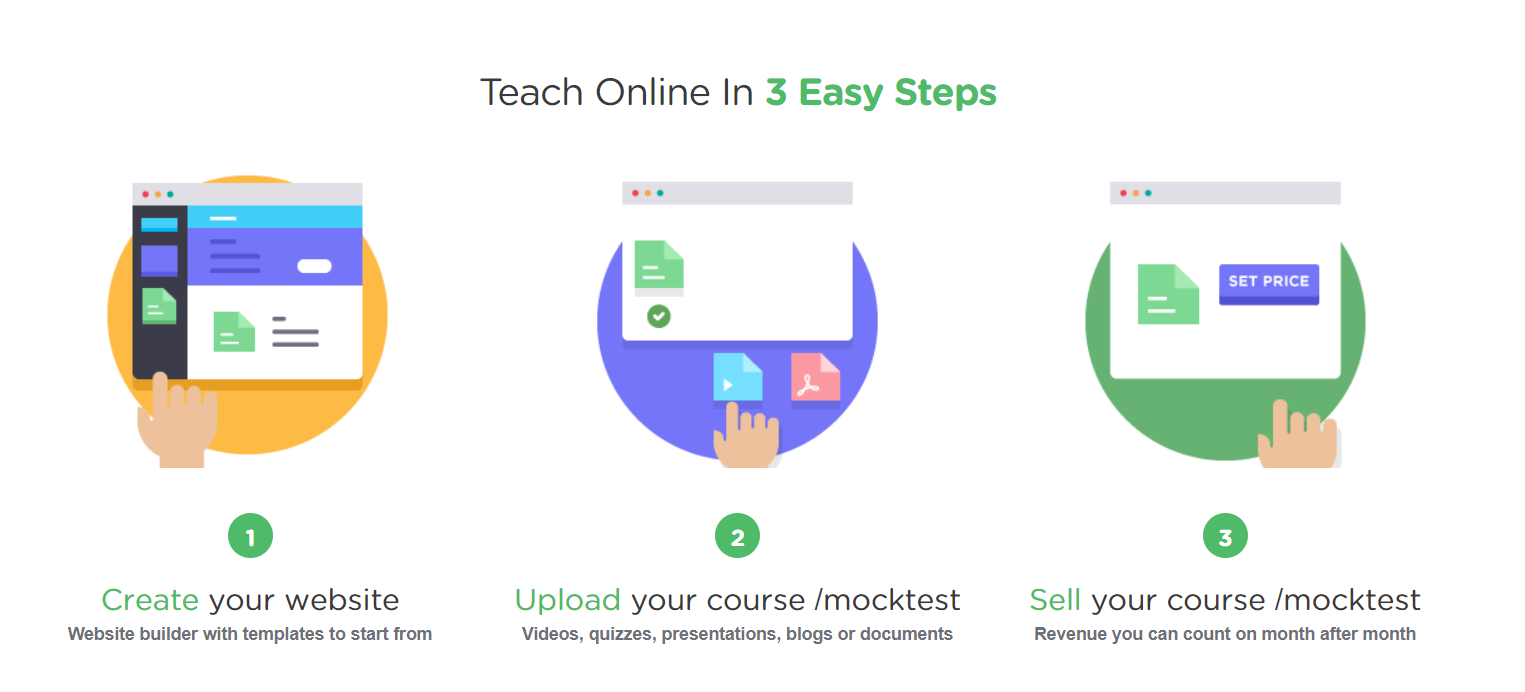
Step 1: BUILD YOUR SITE Click on BUILD YOUR SITE in admin dashboard which will take you to site builder. Learnyst Online Training Platform helps you teach online by building your site with 90% of your site ready with a default template which is just enough to take your site live as soon as you signup. If you want to customize your website you can do that too.
Here is the link for you to know how to customize your default website and add more sections to teach online, change images and logos of your website – How to build your e-learning website? If you are happy with the default template, just enter relevant text content and click on save button on site builder toolbar in the left pane and then click on publish.
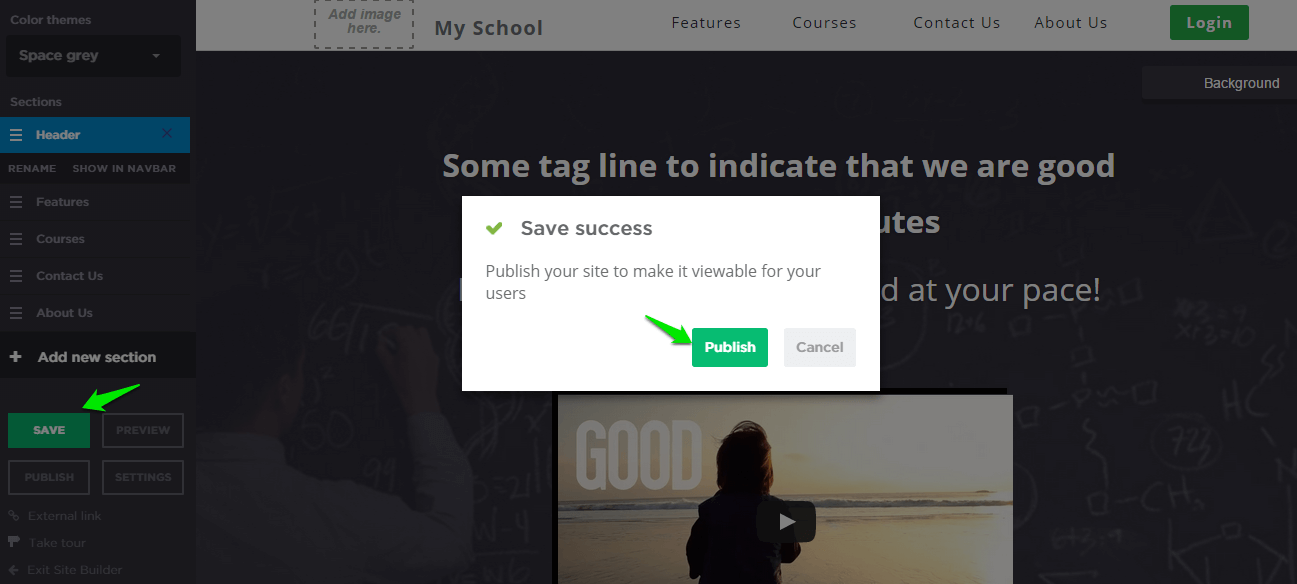
Congratulations !! your site is live now.
Step 2: UPLOAD YOUR COURSE So, your website is ready. You are happy with the way it looks to the rest of the world. Now you need to create courses to offer in your e-learning school. To create a course click on UPLOAD YOUR COURSE in STEP 2 of the admin dashboard.
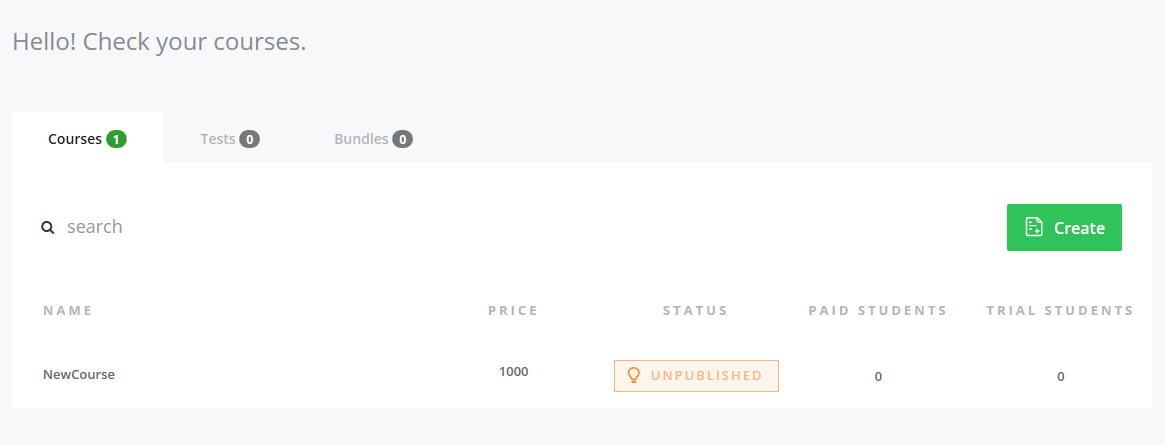
You can create courses with pdf, video, ppt lessons etc. Follow the step by step instructions in this link given to know how upload lessons to your course and publish it – How to create a course? Once you have created your courses you can see them all both in your courses page as seen in the image below.
Step 3: PUBLISH YOUR COURSE Your site to teach is live and you have added courses to it. It is time to publish them to your website so that students can enroll to your courses.
This is the third and final step of launching your school with courses you have built. Click on PUBLISH YOUR COURSE to publish the unpublished courses.
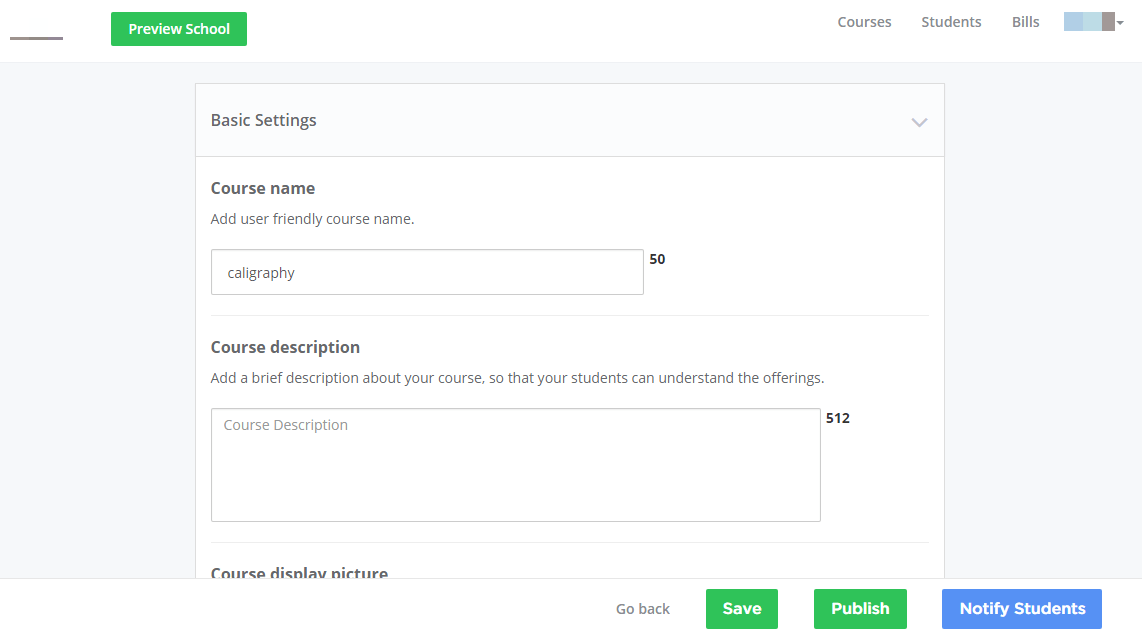
In the settings page click on Publish. Congratulations! You have successfully published your course! and these published courses are automatically reflected in your website.
Now that you have your online school ready with courses you can set the payment gateway to your paid courses so that students can make an online payment and enroll to your school. Learnyst Online Training Platform makes it so teach whatever you want online.
Below is the link shared to know how to set your payment gateway. How to setup Instamojo payment gateway? So, these are the three simple steps to follow to setup up your online school. So, get set to teach online and start selling!
Leave your thought here