
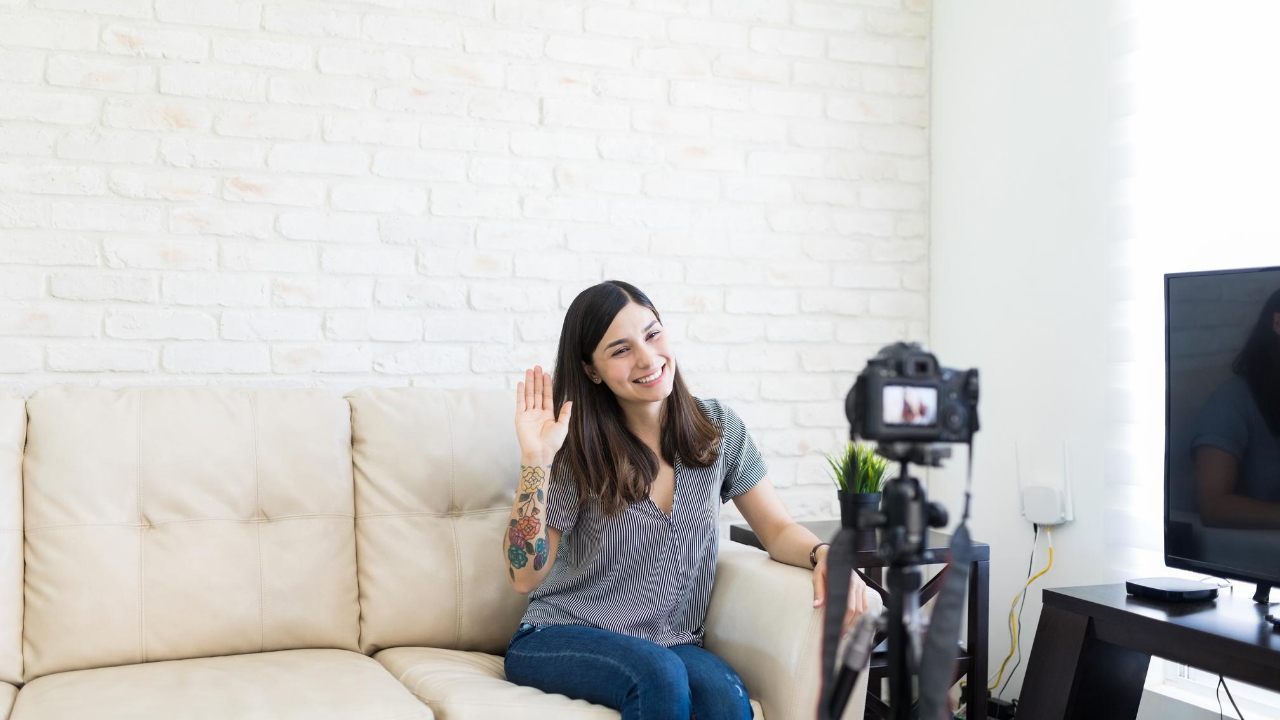
As a tutor, you know how to create lesson plans & teach in a classroom.
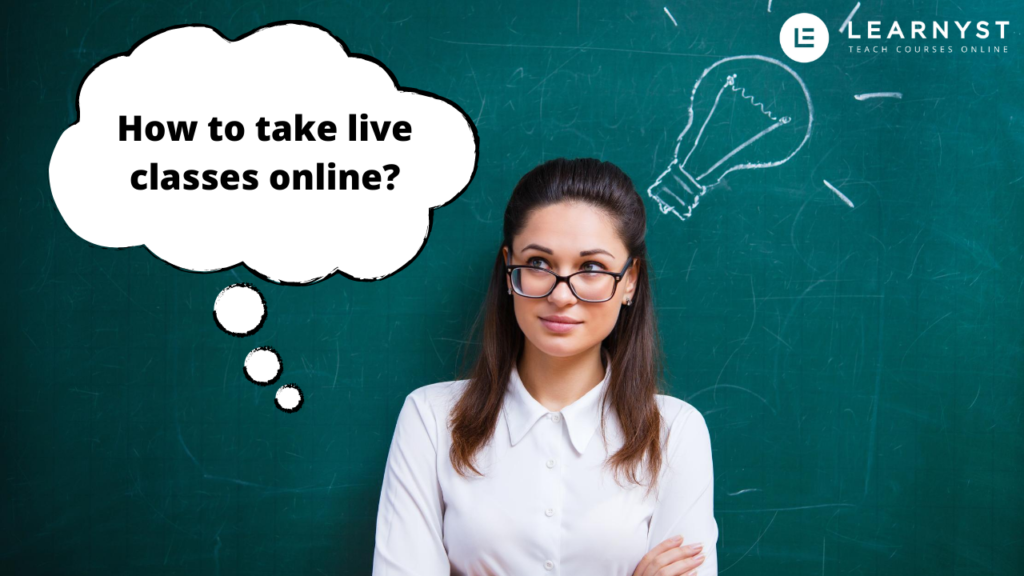
But now, you wonder how to take live classes online in front of a camera!
You may also want to know about the tweaks & tools you need to make your live classes interesting.
So, in this article I will give you a checklist of 5 pro tips on how to take live classes online.
This is how the article is structured:
| SECTIONS | WHAT YOU WILL LEARN |
|---|---|
| Essential equipments for Live classes |
Internet speed, gadgets you need |
| Setup for your Live classes | Lighting tips, camera angles for live classes |
| Best practice tips for taking Live classes |
Best practices, lesson plans to make engaging live classes |
| Live class free softwares | Use free softwares & conduct Live classes |
| Use Learnyst for your Live classes | Know the benefits of using Learnyst for your online classes |
Let us begin with the first step:
Essential Equipments For Live Classes
Internet
If you want to interact with students live, you need a fast internet connection.
First go to fast.com and check your internet speed connection esp: your download & upload speed.
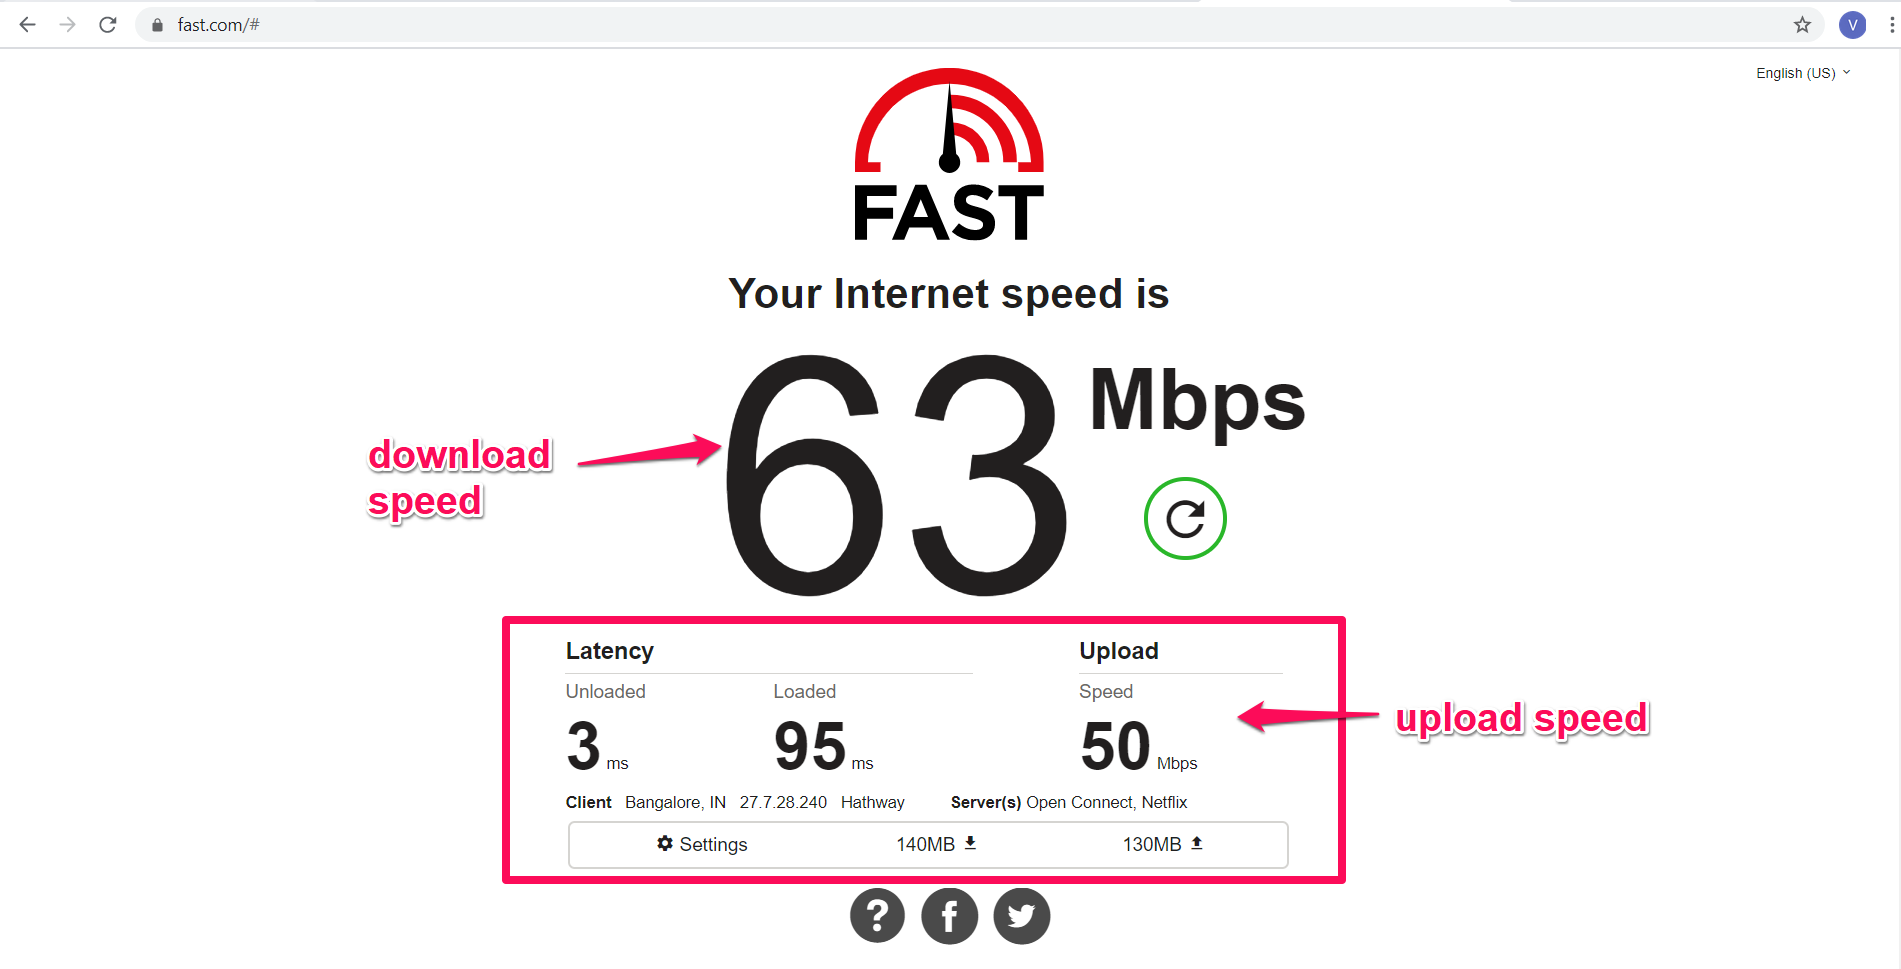
To conduct live classes, you should have a minimum internet upload & download speed of 4Mbps.
Below is a table on the recommended & minimum speeds for your needs:
| CLASS TYPE (voice & video) |
MIN SPEED (download/upload) |
IDEAL SPEED (download/upload) |
|---|---|---|
| Private (1-1) class | 128kbps/128kbps | 300kbps/300kbps |
| Small class of 3-5 people | 2Mbps/128kbps | 4Mbps/512kbps |
| Large class >10 people | 4Mbps/128kbps | 8Mbps/512kbps |
Gadgets
Once you have a strong internet connection in place, the next step is to know the gadgets you need.
| GADGET | REQUIREMENT | FEATURES | COST |
|---|---|---|---|
| Laptop | To conduct live classes you need a laptop with a good processor, RAM, hard disk space and screen size. | Processor: i3/i5/AMD A8/A10 RAM: >4GB Hard Disk: >500GB (preferred SSD) Screen size: >15 inch & resolution (1920×1080) |
INR 35,000 – INR 50,000 |
| Mouse | To move between slides or annotate a mouse is required. (Using laptop mouse-pad isn’t convenient) | Pick any wired or wireless mouse | INR 200 -INR 700 |
| Microphone | You need a mic aka microphone to capture your voice clearly to your students | Pick a good collar microphone compatible with laptop. (Pick one with 80 Hz to 15 kHz frequency range) | INR 300 -INR 600 |
| Webcam (optional) |
You can use your laptop/mobile camera. | Pick one that gives 1080p for laptop | INR 1000 -INR 5000 |
| Pen Tablets (Optional) | To handraw images, animations or write math problem on laptop screen, you can use a pen tablet device | Wacom brand is a preferred pen tablet | INR 3000 -INR 7000 |
| Mobile Holder/Tripod | If you are using mobile, this will keep your hands free & present live video easily | Go for a foldable tripod | INR 400 -INR 500 |
| Studio Lights (Optional) |
To remove shadows & to make videos bright | Check for studio Lights | INR 5000 |
| Camera Lens (Optional) |
Attachable wide angle lens for mobiles |
Check wide angle lens for mobiles |
INR 2000 |
To summarize, below are the essential equipments you need for your Live classes:
- Internet Speed > 4MBPS
- Laptop Spec: 500GB SSD/HDD, > 4GB RAM
- Mouse: Preferred Wireless
- Microphone: Freq > 80 HZ
- Camera: Any mobile Phone with >12MP Camera & 64GB memory
- Mobile Phone Holder: Flexible Tripod
Setup For Your Live Classes
Quiet Room
Choose a spot where you have less noise from outside & a good lighting.
Lighting
You should adjust your lighting & reduce the shadows falling on your face. Refer to this video on how to adjust lighting naturally.
Camera Angle
Your camera lens should meet your eyes. Its best to keep the camera angle facing you.
Best Practice Tips For Taking Live Classes
Overcome camera shyness
While this part maybe easy for teachers, speaking in front of camera makes you more conscious. Watch this video to know how to talk in front of the camera
My personal tip is: rehearse 3-4 times & to smile while talking.
Prepare materials for your Live classes
The best way to take live classes online is by asking questions to your students.
In your lesson plan, prepare questions, polls or any worksheets you want your students to answer during your Live session.
If you are using a tool like Zoom, use poll option to create interaction.
You can even get your students to respond to your questions with a “yes” or “no” response in the chat window.
Create lesson plans for Live classes
Now that you have prepared the materials, plan how you will deliver the lessons.
The best practice is to start by greeting your students for the first 1-2 min.
Once, that is done, you can start with the agenda for your live class.
Create your lesson plan to include the questions you want to ask & structure your lecture like this image below.

Lastly, use Q&A, rewards, or handouts or worksheets or rewards to motivate your students.
To create a lesson plan structure, you can use this free tool called Xmind.
Rehearse your points
On the week/days before the live classes, keep a camera in front of you (no need to turn it on) and simply rehearse as if you are talking to a student.
If want to ask a question 15 min after the start, include that in your practice drills as well.
Practicing in front of the camera also makes you more comfortable and also helps you avoid using filler words like “ums”, “errs”, “aahs” during presentation.
Related Post: 8 Handy Tips From Expert Online Teachers
Live Class – Free Softwares
So, now you have the materials for live classes, a good recording place & the lesson plans. Now, it is time to look for a software for streaming your video live to students.
Zoom
Most teachers use Zoom for live classes. It has features to ask polls, chat with students & even use whiteboards. Zoom has a free plan for a certain limit.
OBS
If you want to conduct live class with a whiteboard or PPT on your background (just like in a classroom), you can consider using a tool called OBS, integrate it with Zoom.
JamBoard
If you are like most teachers, you may like using a virtual whiteboard.
Jamboard is a free tool where you can upload images, write, annotate & explain concepts to your students.
Related Post: Ultimate Tools To Teach Online In 2022
Using Learnyst For Live Classes-Benefits
If you want to sell courses, track student progress, get payments credited to your bank account, then you should use an LMS platform like Learnyst.
What Learnyst does is, it will simplify all the steps for you. For ex:
Organize your contents
Organize all your contents neatly as courses, mock tests or bundles. Create paid/free courses or tests.
Schedule weekly or monthly Live classes
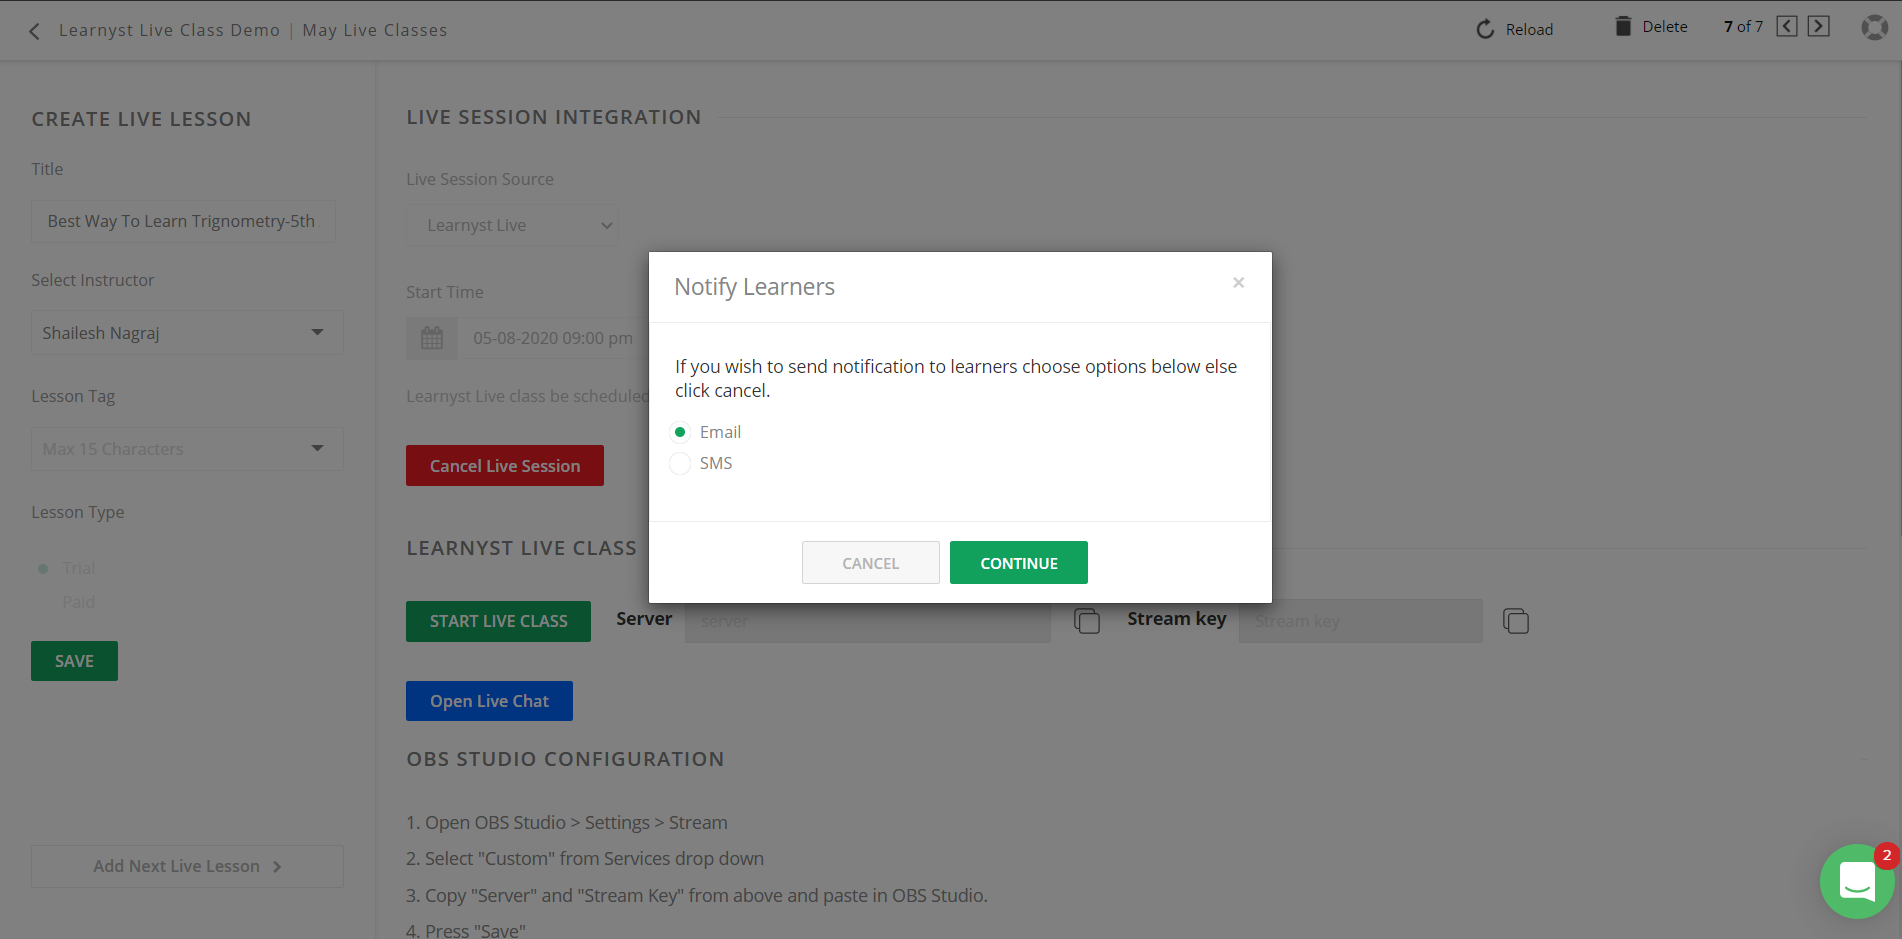
Looking to conduct live classes on every Thursday from July-August? Not a problem.  Just click the live video choose Learnyst Live & schedule a date and time and save. No need to install any 3rd party tools. Its simple.
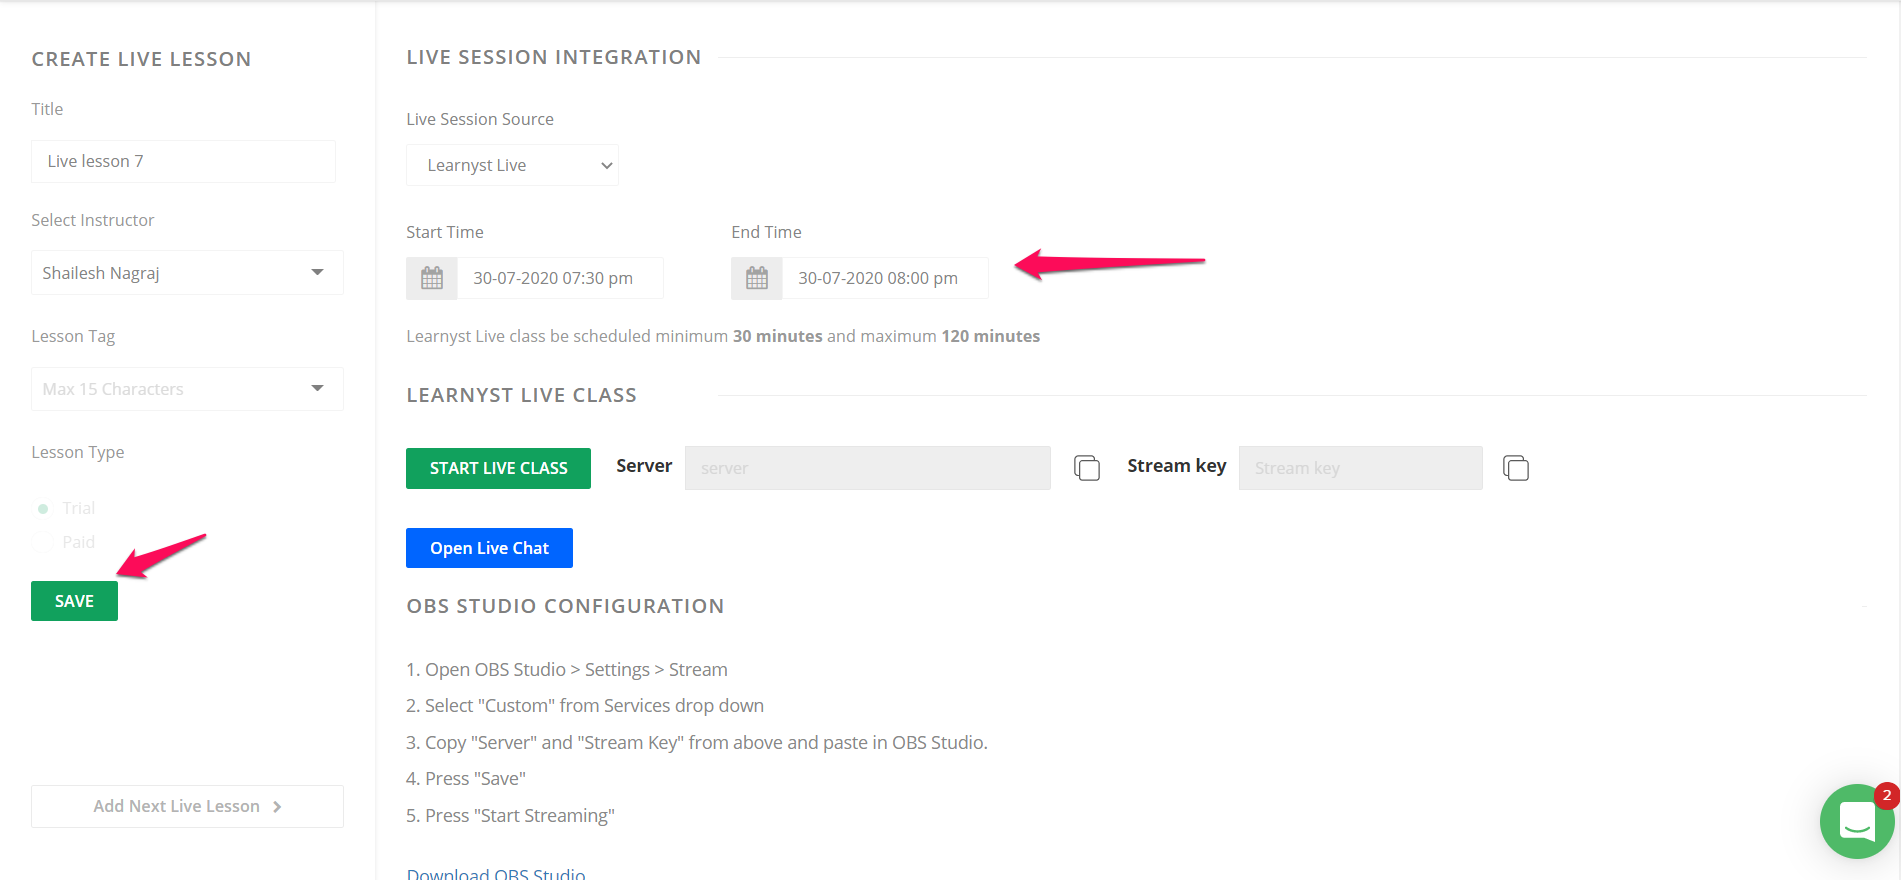
Once scheduled, Learnyst will automatically notify your learners via email or sms.
Integrate 3rd partly Live Streaming Tools
Do you already use a 3rd party tool like Zoom, YouTube Live to stream live session? Not a problem. You can easily integrate them with the platform.
Sell your live class as an online course
You can even add the recorded videos of your live lectures into an online course & share it with your students.
Get 100% course sales credited to your bank account
Learnyst levies 0% transaction fees on your course sales. So, what ever you earn gets credited to your bank account directly with our integrated payment gateways.

We support upto 7 payment gateways including stripe & paypal.
Secure Streaming
At Learnyst, we specialize in securing your contents with watermarking features so you can be assured of your contents security.
So, if you want a platform to try out Live classes, you can signup for our free trial and explore us. We have helped 800+ teachers to grow their academies online.
Conclusion
So, with this, we have come to the end of how to take live classes online article.
To conclude, we identified the minimum requirements for starting a live classes.
Then, we saw the tips to create a good ambient environment for live class.
We followed it with the best live class etiquette’s, lesson plans, materials, softwares & the platforms required to run your live classes.
I hope this helped you and gave you a good insight on how to take live classes online.
If you want an all in one platform that handles everything for you & helps you focus on your core specialty of teaching then you should sign up for a free trial with Learnyst
Comments