Learnyst LMS offers educators the most sorted and handy Learning Management system to teach online through which managing student’s data becomes very simple. Gone are those days when you spent hours together assessing students’ test sheets. When you choose to teach online with Learnyst, things can get only better! Signup and have your most professional e-learning school leaping across all those hurdles.
Step 1: Sign up and login in as admin to your school on Learnyst LMS and click on Students on the top right corner of the admin dashboard.
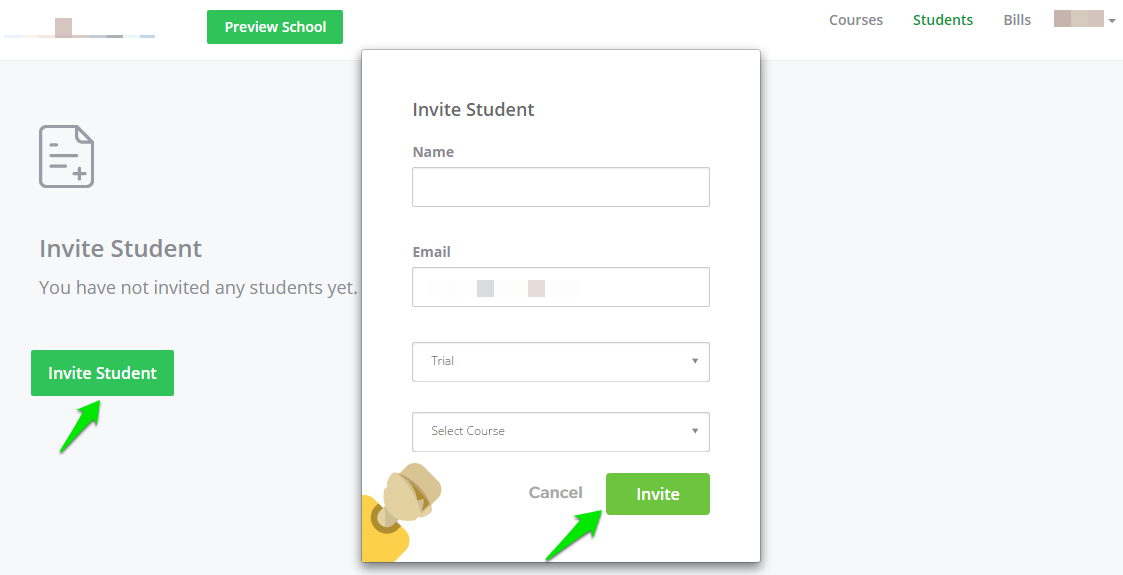
Step 2: Click on Invite Student. Enter the details of the student whom you would want to invite to take up your courses and click on Invite.
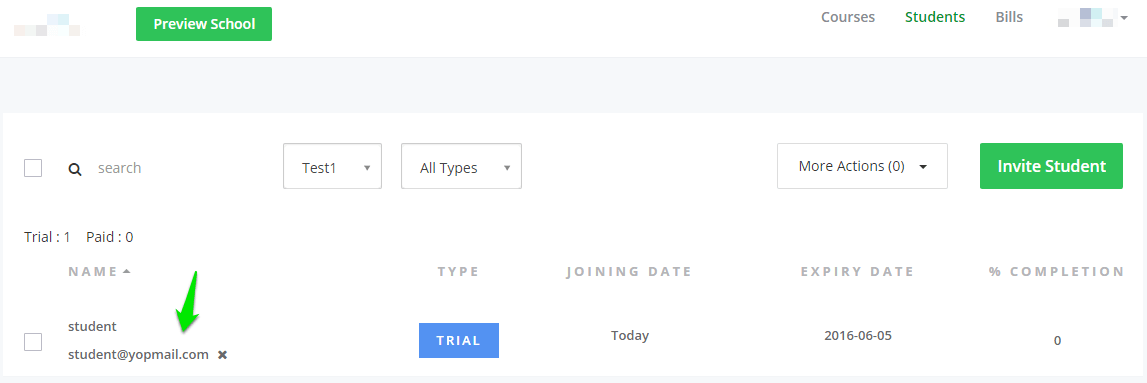
Step 3: You can see the list of students in students page. Click on the list entry to see that student’s profile.
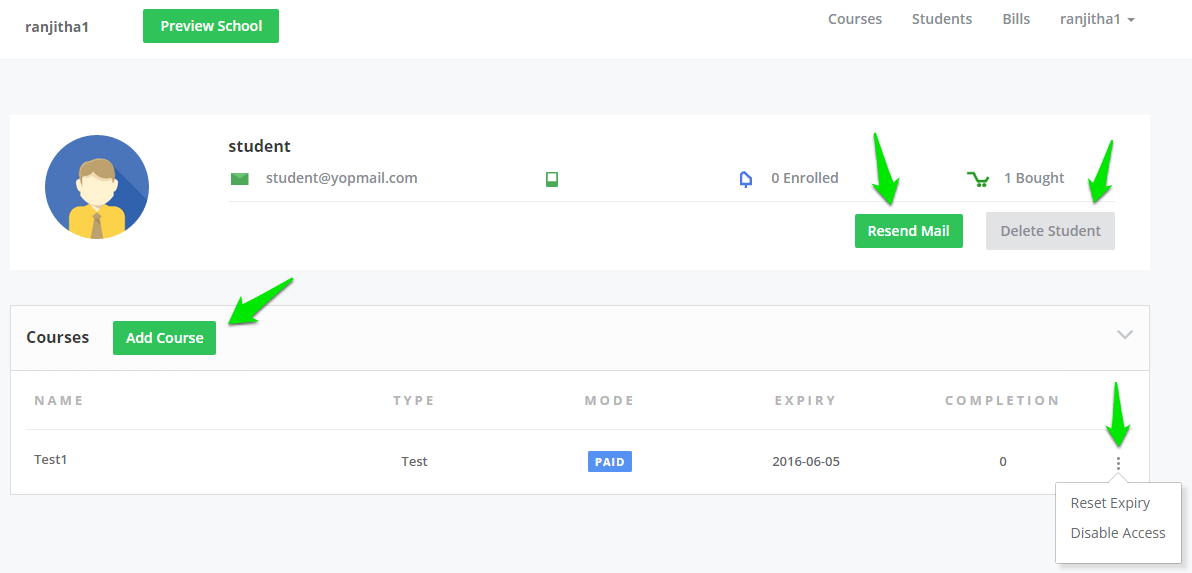
Step 4: In student profile you can see the details like the type of course, whether it is paid or free course, and expiry date and completion. Here click on Add Course to add more courses to the student. You can resend invite by clicking on resend mail to a student and click delete student to delete the student enrolled. To reset the expiry date or disable the access to the course, click on the dotted menu at the right corner of the list entry.
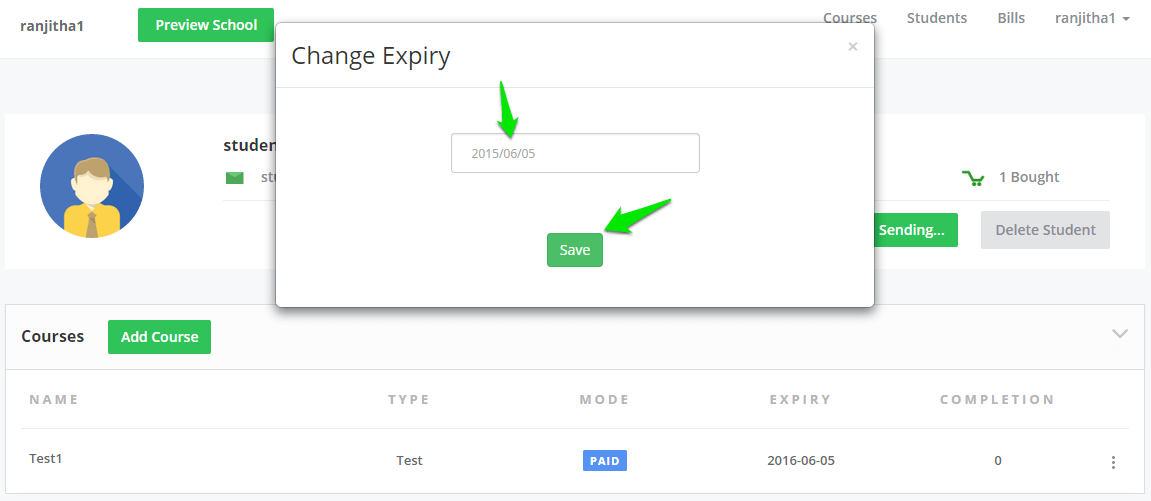
Step 5: Click on Reset Expiry and select the date and click on Save.
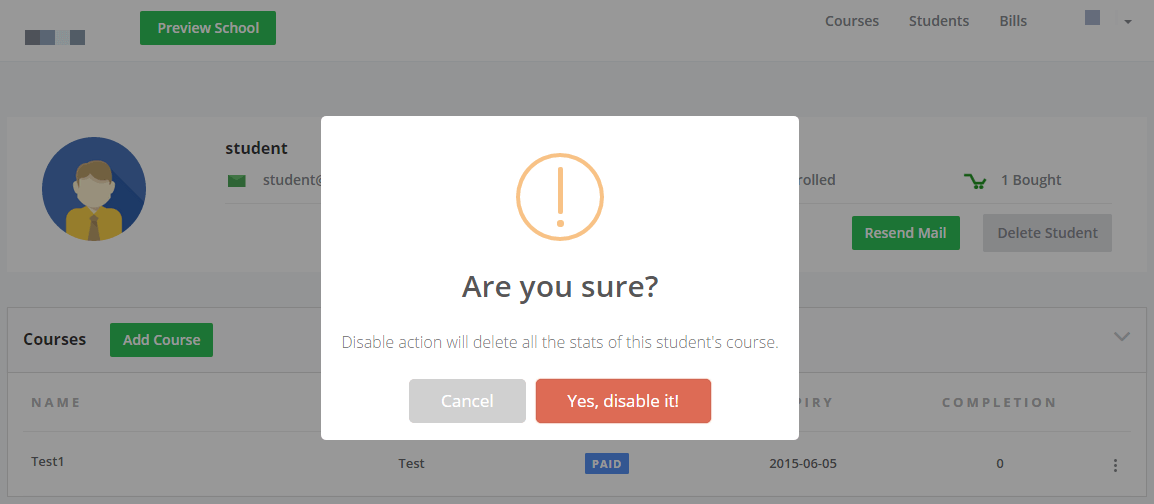
Step 6: Clicking on the Disable Access button will disable all stats of that student’s course.
If you were till now worrying about managing whole lot of student data, then just signup to Learnyst, sit back and relax with the best LMS in your hands!
Create your stunning online school in 5 mins.