
Why your eLearning website need google analytics
Track student engagement across your website and deliver the better user experience to your students. Get analytics data like traffic sources to your site, which course drive more engagement, which platform drive more users web or mobile. If mobile drive more users then request for your branded mobile app.
Installing google analytics to your eLearning website
Signup for google analytics using your current google account or signup for one.
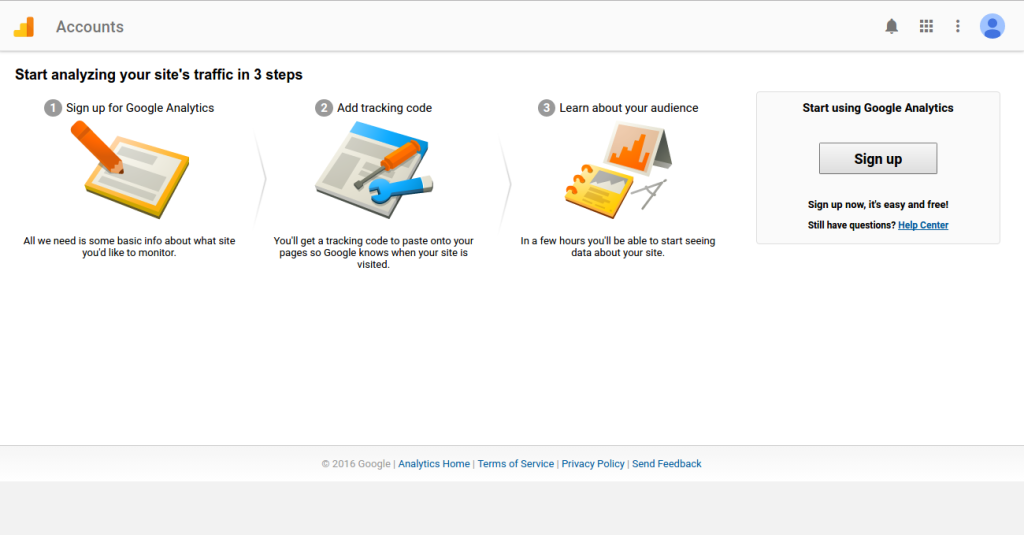
After you click the Sign Up button, you are provided with a form to fill out information for your website.
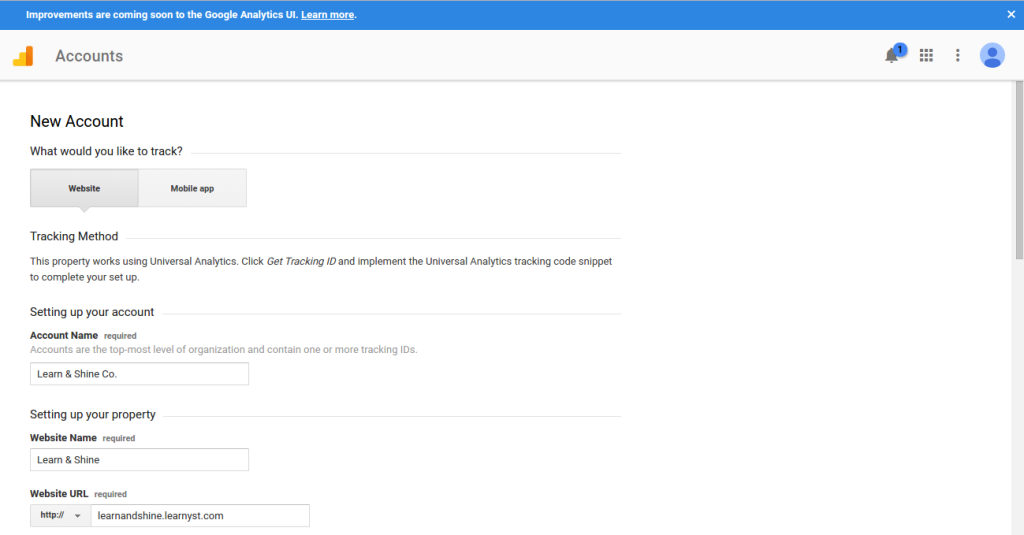
Account Name – If you are going to manage all your eLearning websites in one account you can enter your business name as Account Name or if you are going to manage all eLearning websites separately then you can provide your website name as your account name.
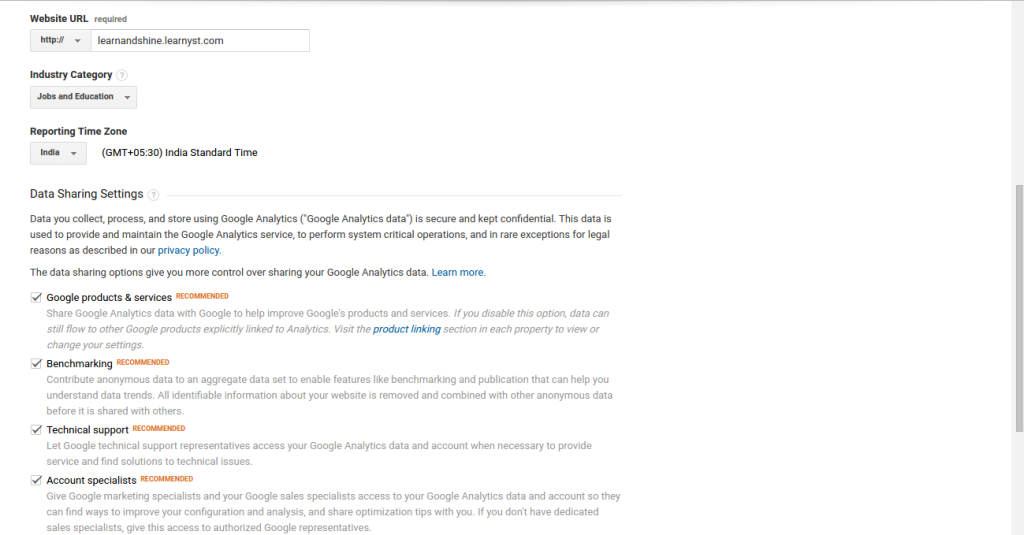
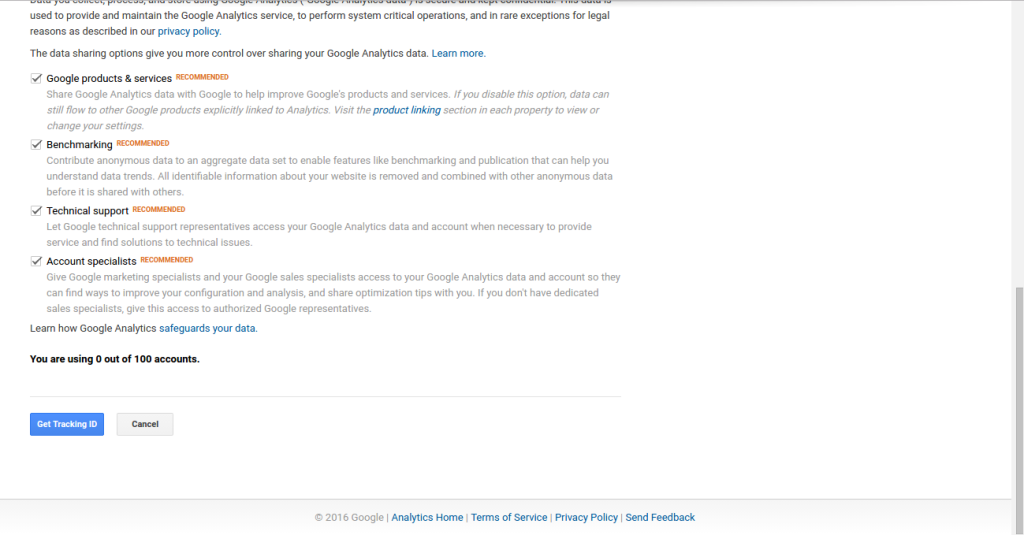
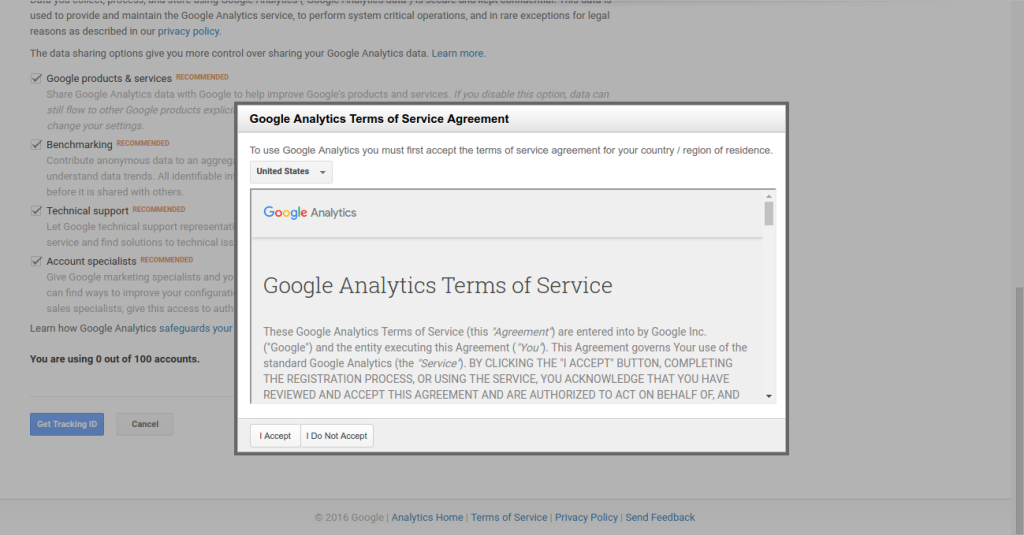
Once you fill out all your google analytics account information click Get Tracking ID button. A popup of the Google Analytics Terms of Service Agreement read and agree on it by clicking I Accept button at the bottom of pop out window.
Once you agree you will get google analytics Tracking ID.
Now you have successfully completed sign-up for Google Analytics.
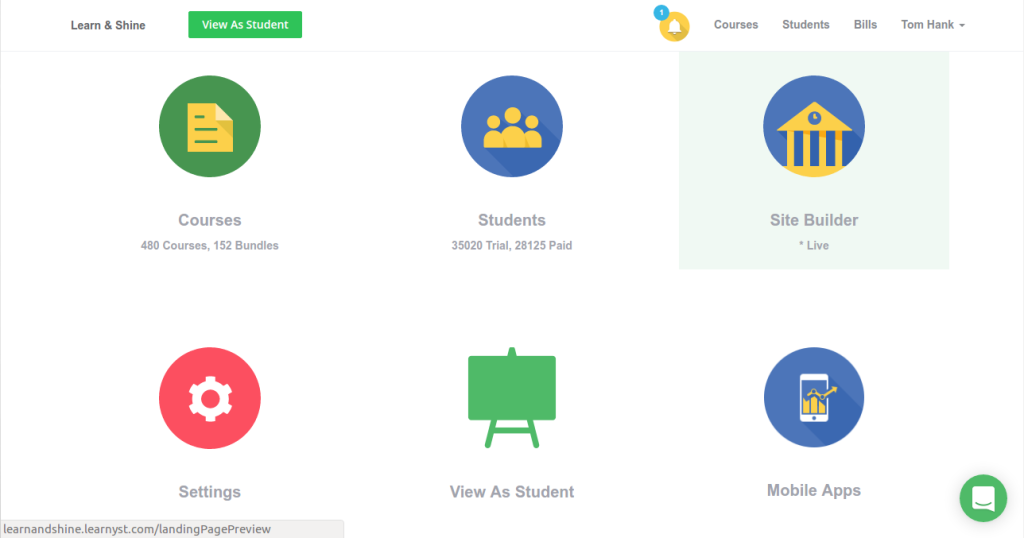
It’s now time to install in your eLearning website. Now go to your website and login with admin credentials. On dashboard choose Site Builder.
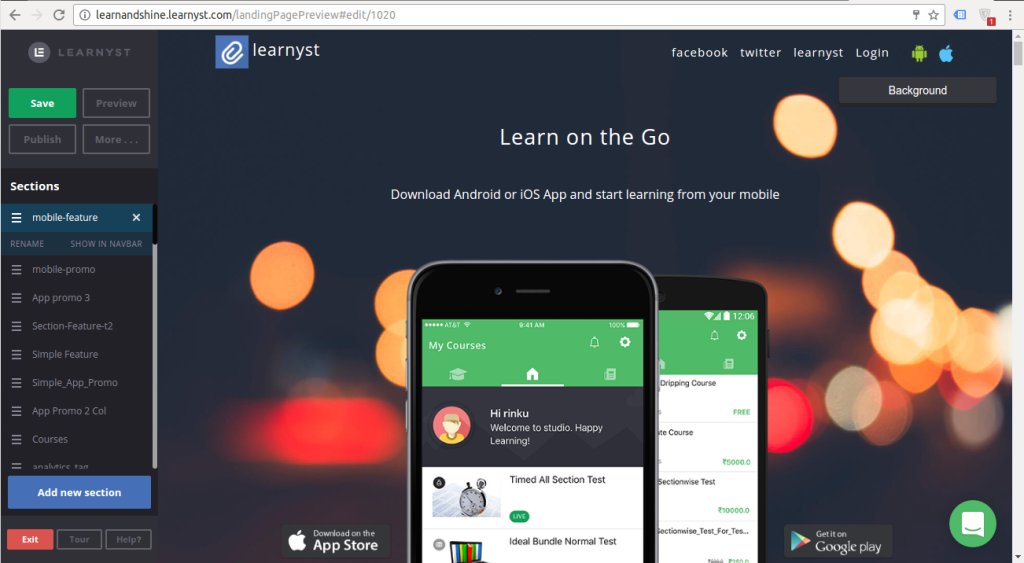
Your drag and drop website builder will be opened and on left side of the screen you can find control panel, here choose more button.
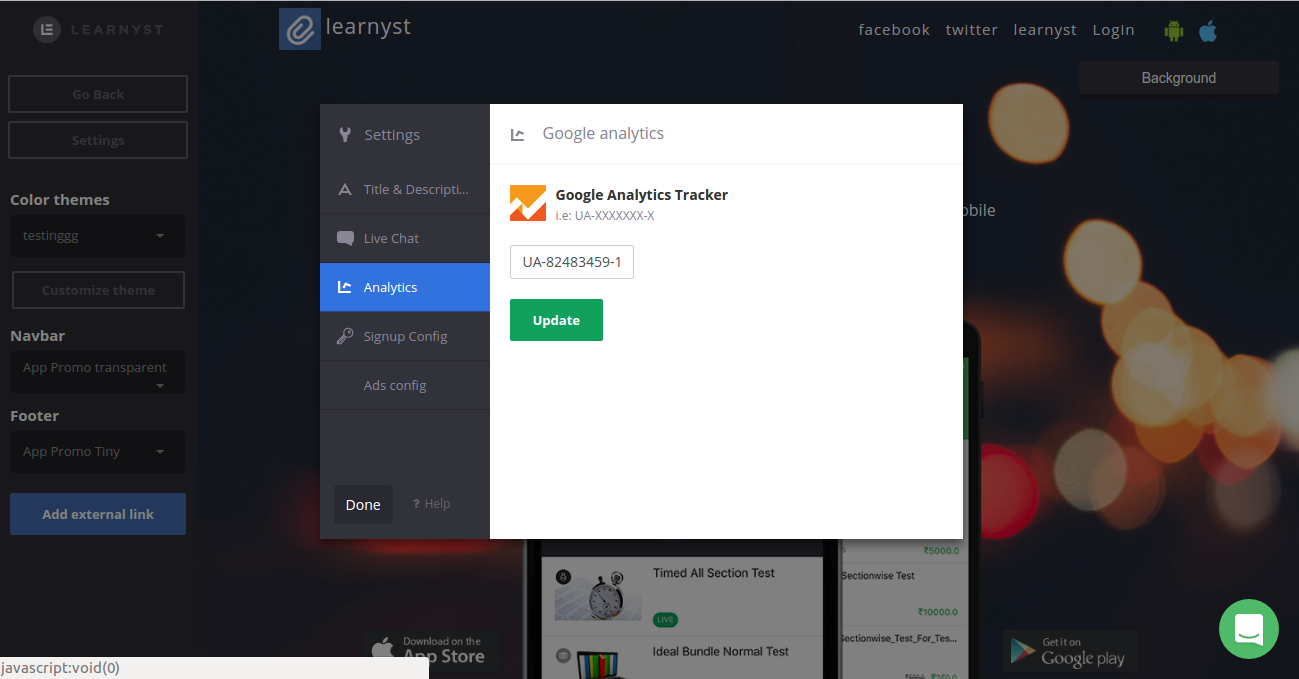
Now click on settings on menu listing, now settings popup of your eLearning website is open. Here you can customise all external dependency for your eLearning website. On the setting popup choose Analytics tab and on the resultant screen paste your Google Analytics ID and choose update.
Now choose done and click Go Back button in control panel now you can see the main menu now click save button and publish button. Hurrah! now your online teaching school is installed with Google Analytics.
Setup goals and visualise funnels.
Once you setup google analytics in your website you can start setting up goals. Goal helps you to identify how well your site fulfill your target objective. The goal represents a completed activity, that contributes to the success of your business. Goals help to identify important achievements happened in your online business. Here are the steps to track payment in your website.
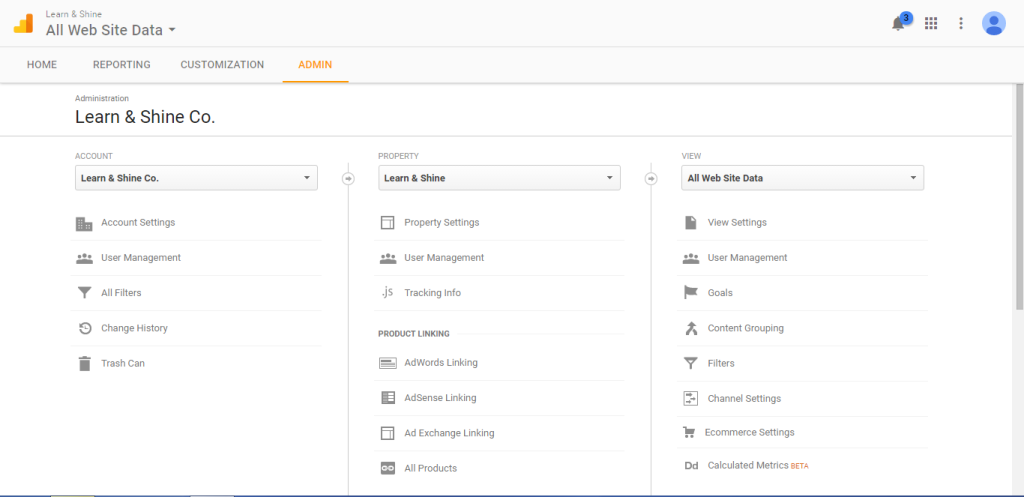
To setup goals for your eLearning website, sign in to google analytics and Select the admin tab and navigate to your account if you have a single account your account is pre selected. Once selected your account now choose the property. In view column click Goals.
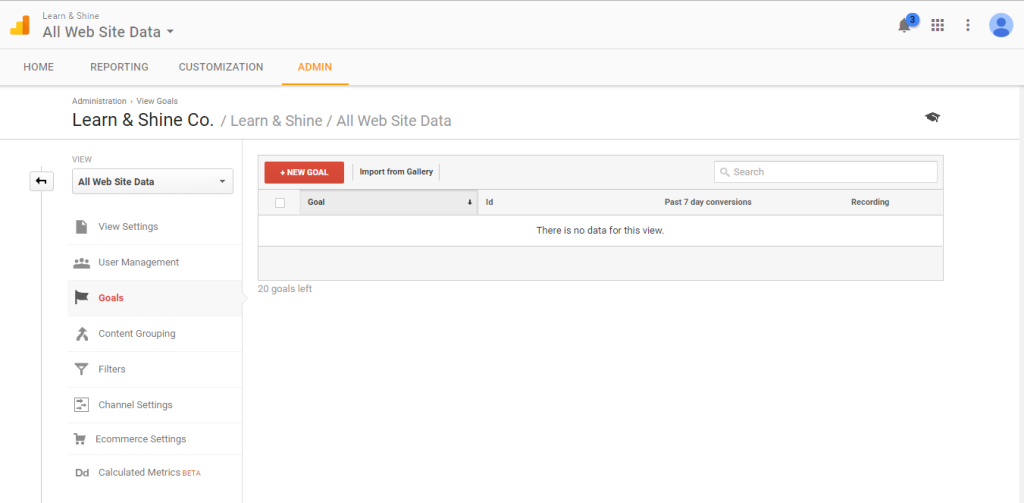
In Goal setup page click + NEW GOAL red colored button to setup your new goal.
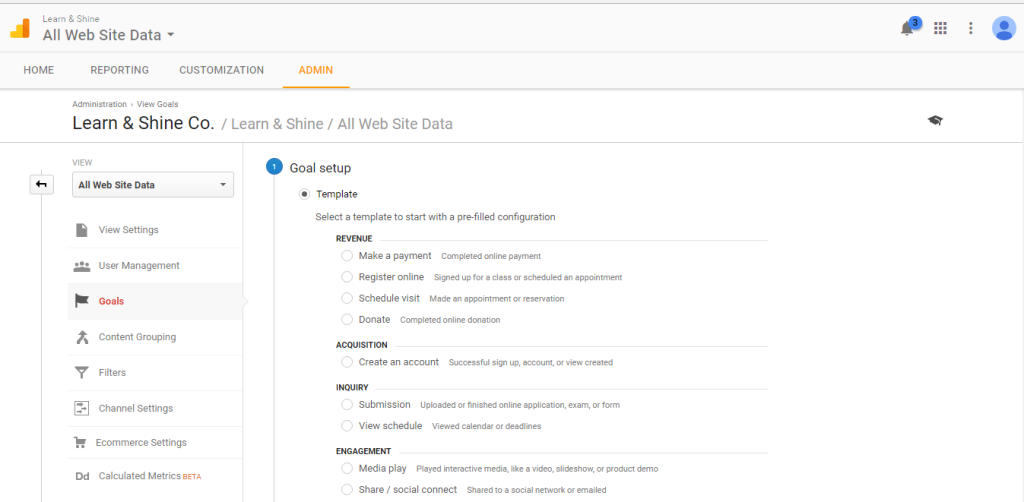
In template menu choose Make a payment under revenue category.
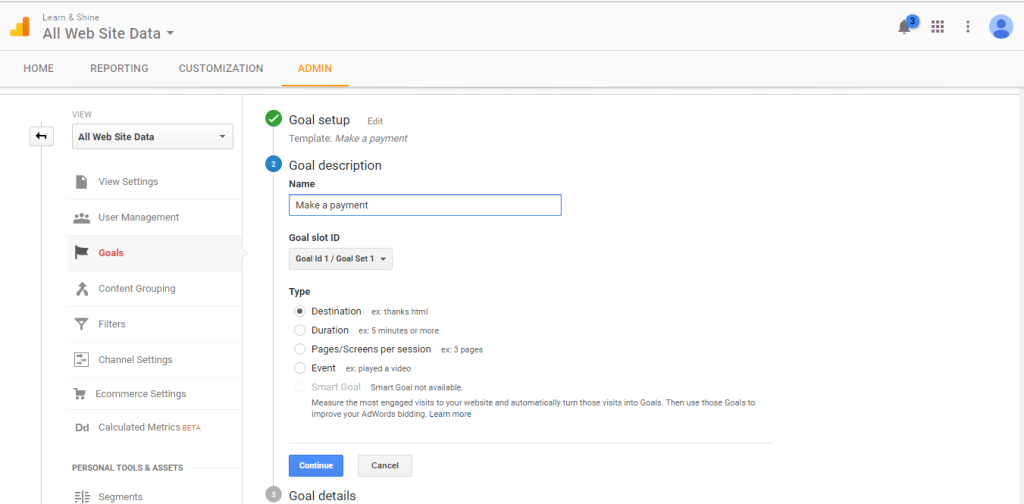
Enter goal name as your desired name and choose Destination option and click continue.
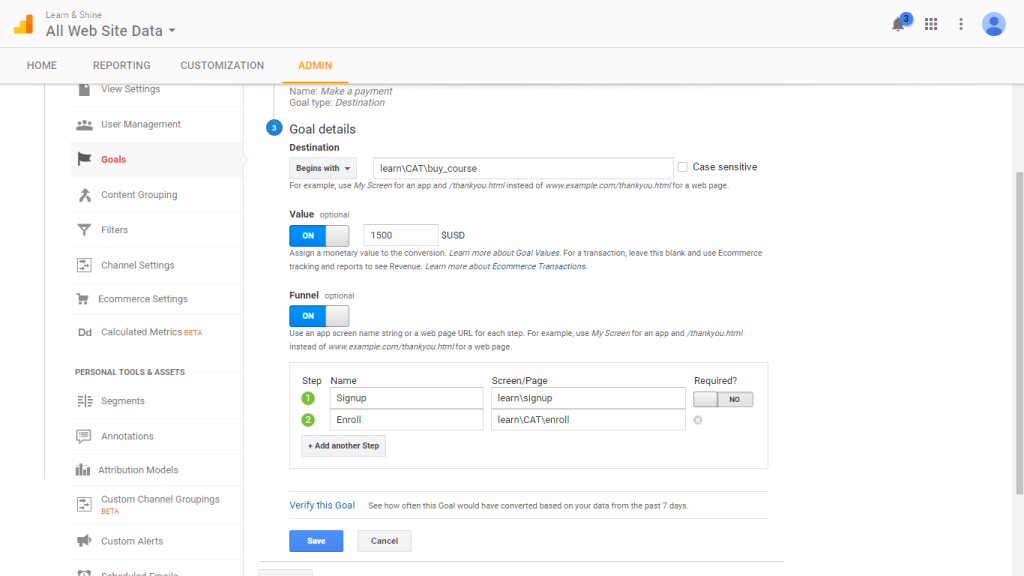
In learnyst custom url is provided for your goal setup convenience, In goal details section choose destination as “Begins With” and type the URL as “learn\<course_name>\buy_course”.
To get the course name go to the desired course in your website and copy the URL from browser address bar. Now remove your school domain name your string should look like “\learn\<course name>”, now append buy_course to the URL and place it on App screen name text input field.
the URL = “\learn\<course name>\buy_course”
If you want to track exact price calculation go enable Value by clicking Value button to on and in input field provide price for the course.
Enable funnel option by clicking funnel toggle button and on step 1 provide goal step name as signup and click +Add another step button. New step 2 will be spanned and enter enroll as goal name and provide url as “\learn\<course name>\enroll”, and click save button.
View Goal Conversions
Now to view the conversion funnel click Reporting tab in navigation bar and choose conversion option is in the bottom at left side bar. Click goals and choose overview in dropdown listing.
Note: Analytics data is available only after 24 hours of you website events.
Leave your thought here