Build a course
Create Online Course for your elearning school on Learnyst
Create online courses for your E-learning school to let your students access courses based on subjects in their convenient time.
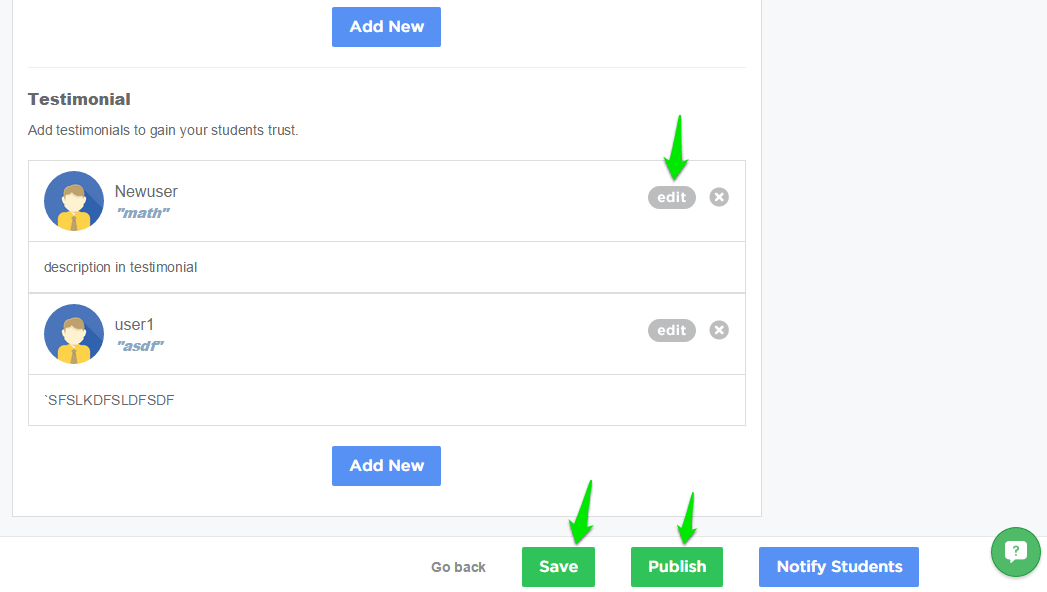
Teach online with Learnyst Course builder by creating your course in a well-defined manner. Most Advanced features helps your course have the latest pattern
Teach online with Learnyst Course builder by creating your course in a well defined manner. To know how to create a course and publish it follow the link- http://blog.learnyst.com/2015/05/28/how-to-create-a-course-in-learnyst/ . Having done with course the creation you can describe your courses better with Learnyst course builder advanced features.
Step 1 : Login to http://www.learnyst.com as an admin. Click on PUBLISH YOUR COURSE.
Step 2 : Give your course a good name and description so that when you teach online your students can understand what your course offers.
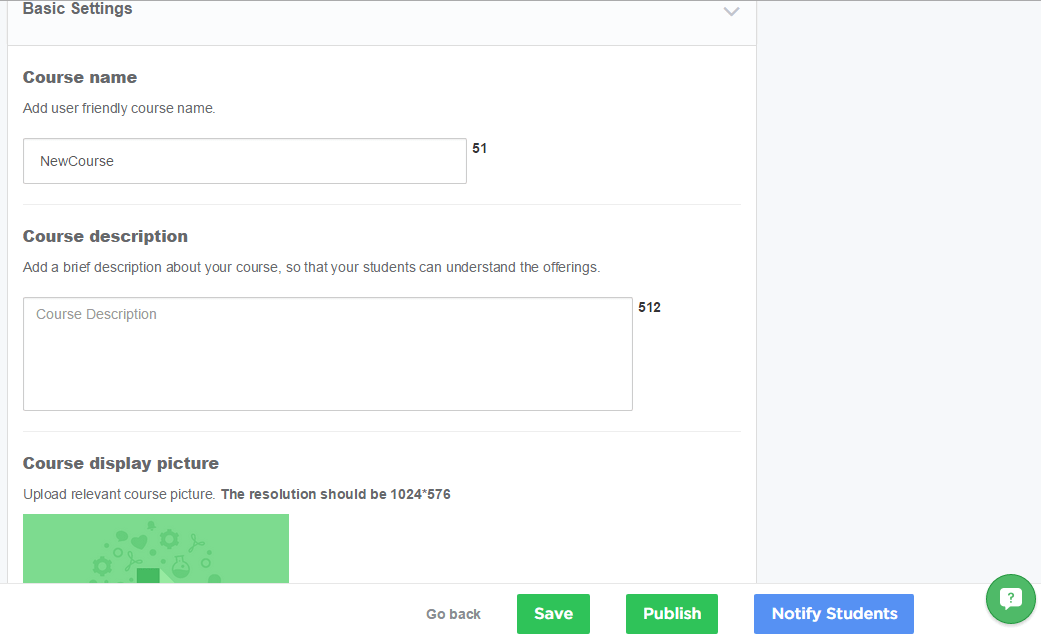
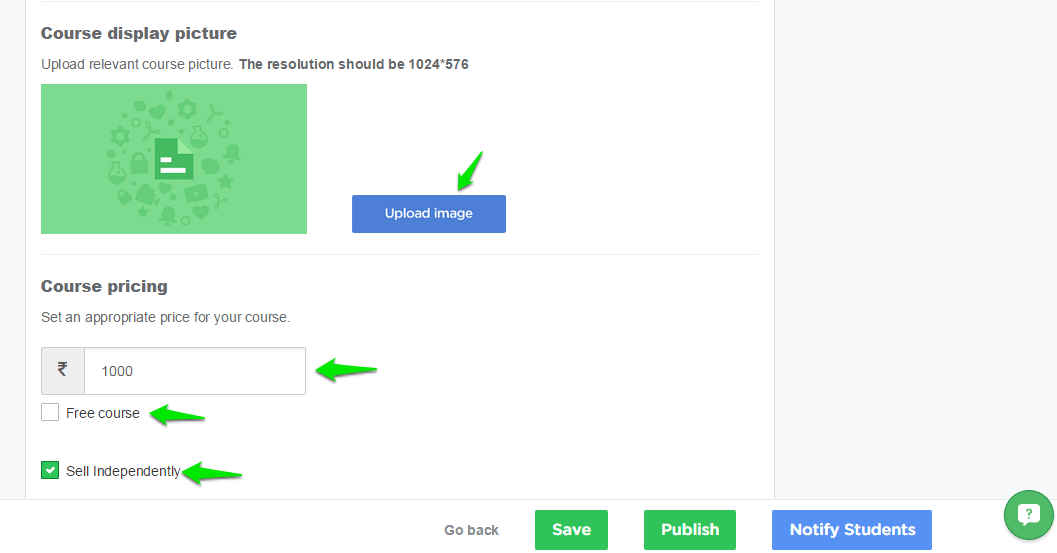
Step 3 : Upload a relevant course picture to your course. If you want to sell your course with a fee, set pricing for it or simply check the Free Course check box. There is a checkbox called Sell Independently which is selected by default. Which means you can sell that course as an independent course. If you do not want to sell the course as a single independent course then uncheck the checkbox. Now the course can be sold only as part of some bundle.
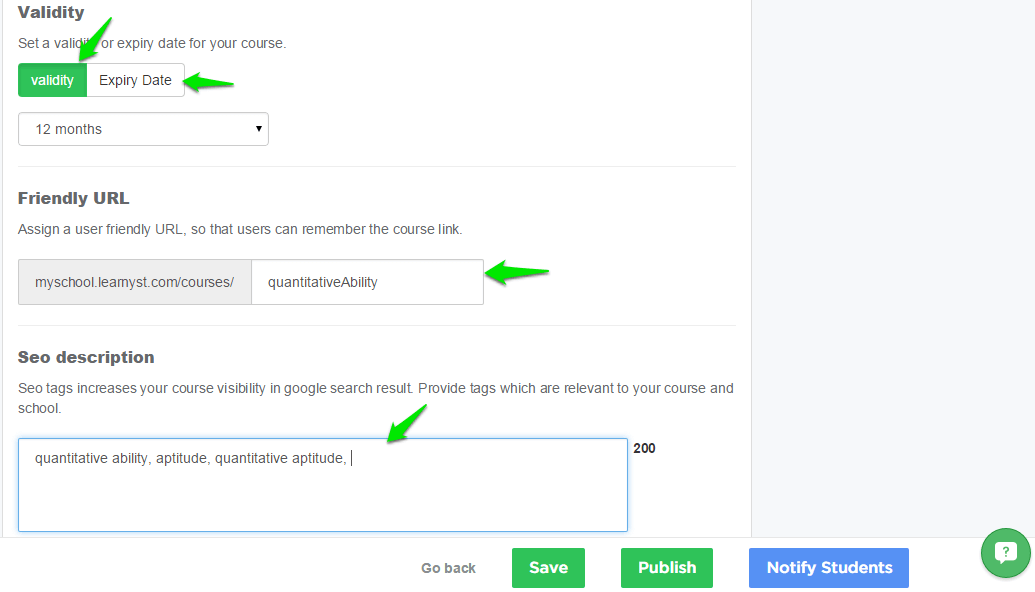
Step 4 : You can set either Validity or Expiry Date for your course until which student is enrolled. You can assign a user-friendly URL, so that users can remember the course link.
SEO tags can increase your website visibility in google search results. So, make sure you give relevant keywords for your courses in SEO description section.
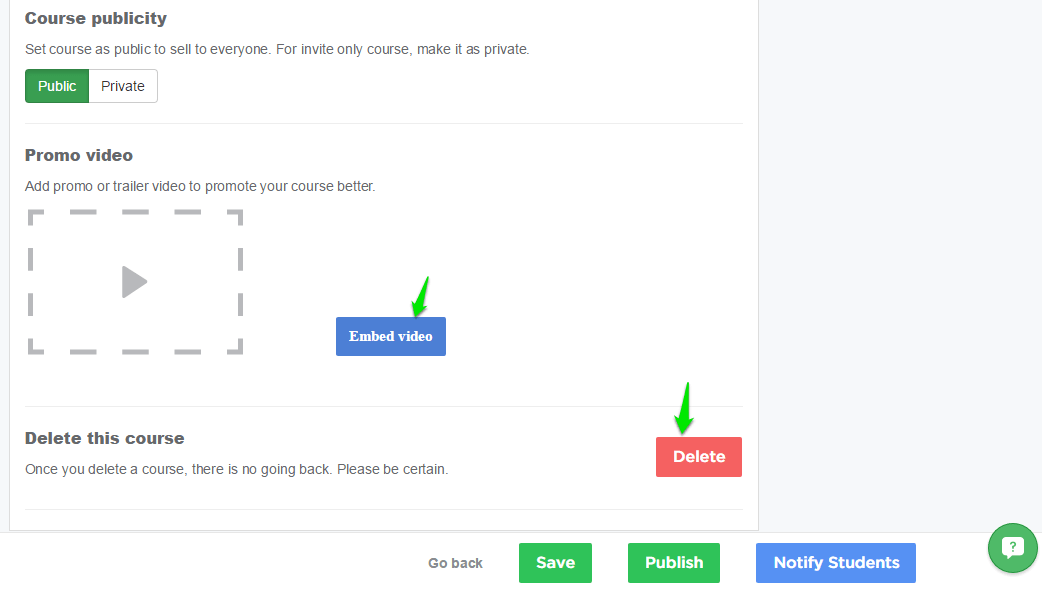
Step 5 : You might want to sell your courses only on invite. In such case set such courses as Private. Else make them Public.
You can promote your courses better with a promotional video or trailers. Embed Them clicking on Embed video button.
If you want to delete a course, you first have to delete all the lessons and all the sections in that course. Only then you can successfully delete the course.
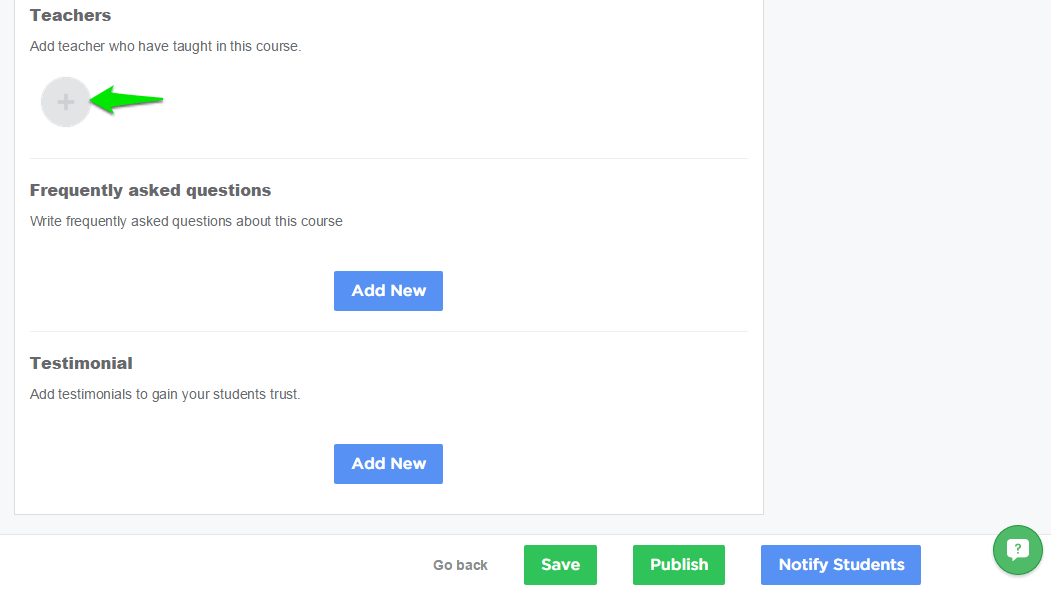
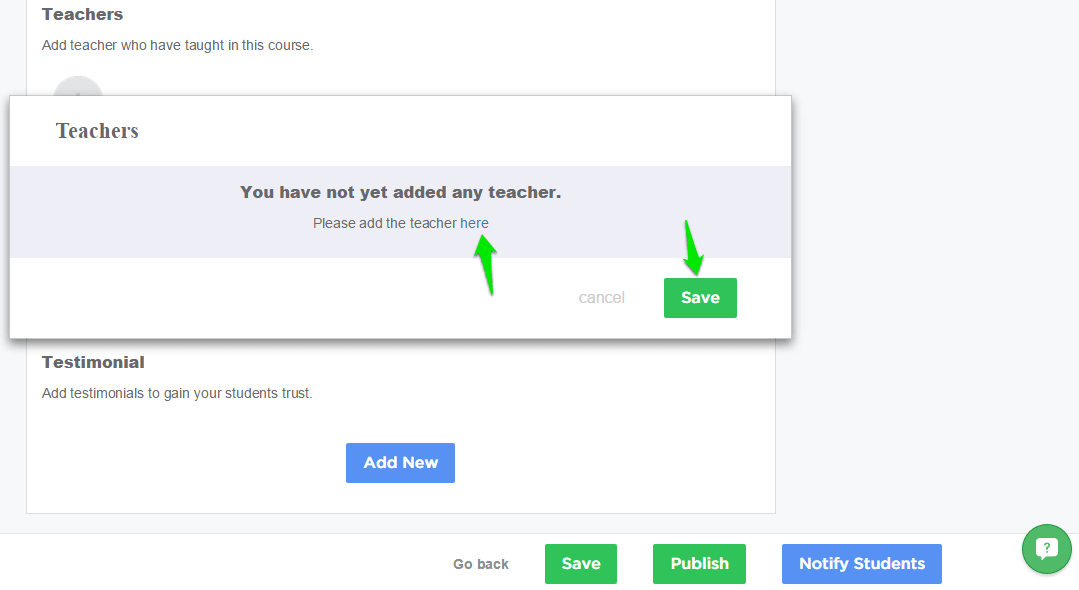
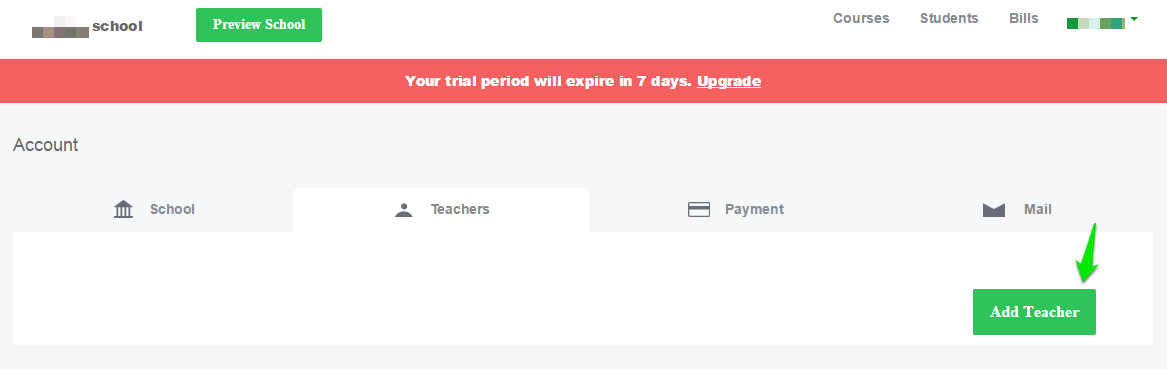
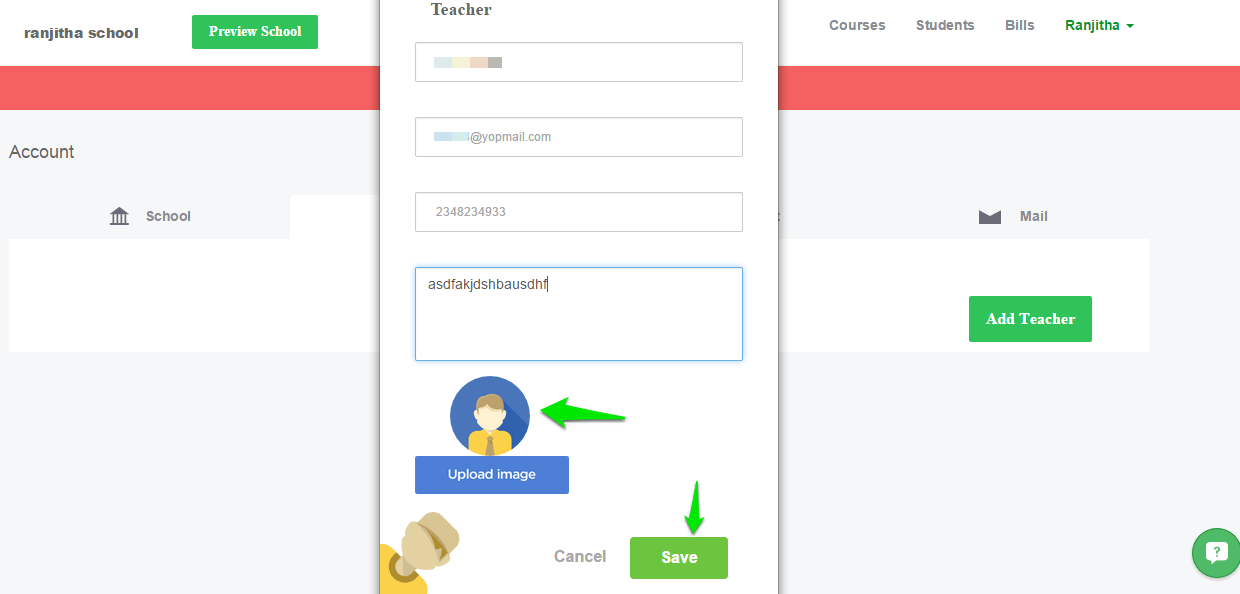
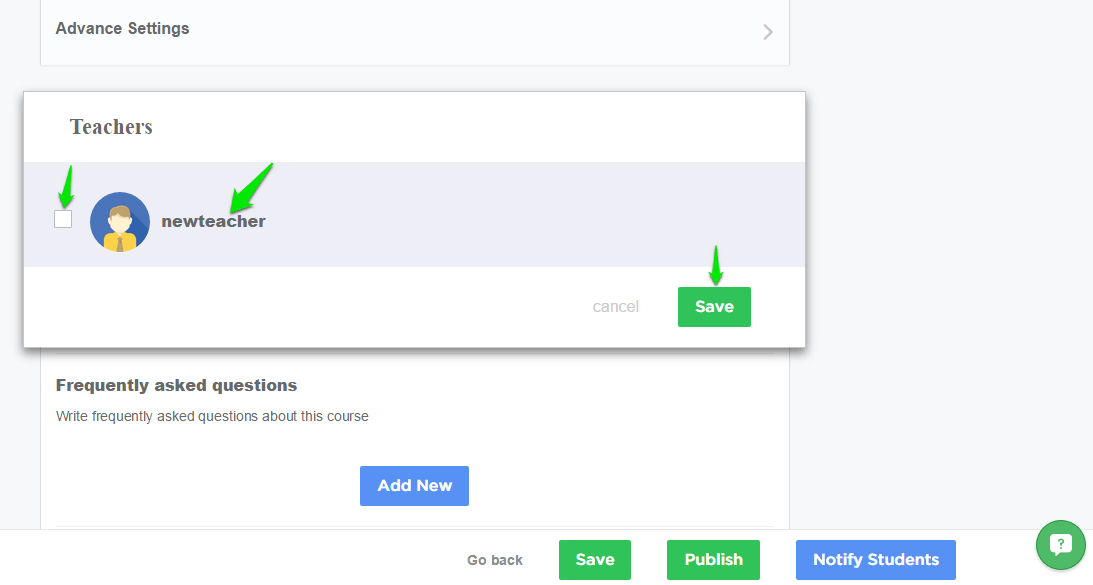
 Step 6 : To add Teachers to your course click on ‘+‘.
Create online courses for your E-learning school to let your students access courses based on subjects in their convenient time.
If you want your courses private, you can create a course on a course builder as private and invite students to take up that course.
Learn how to create online courses with videos, PDF lessons and many more with learnyst course builder and start teaching online.